On the setting page, there are 2 main categories, one is for Makli display only mode, and the other one is for Makli display and sells mode. The changes you will make here will affect all over the plugin.
 Currency Settings:
In this section, the following actions could be taken.
Currency Settings:
In this section, the following actions could be taken.
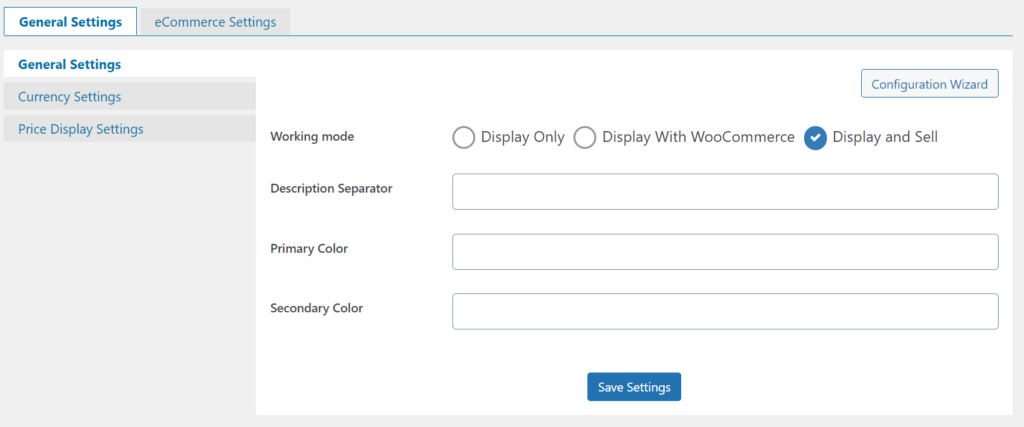
General Settings:
This settings area is specific to Makli display-only mode. In this setting section, you can find the following settings: General Settings:- Working Mode: You can set the maki mode from here also, there are three modes listed here, display only, display with WooCommerce and Display and sell. For more information about working modes, you can look here.
- Description Separator: You can set the description separator that you want to use as a separator in keys and values, the default value is. For example if you want to use the description in the following formatRAM Guaranteed-> 5 GB Burstable -> 1 GB CPU Cores ->1 then you should set -> as a description separator here.
- Primary Color: If you want to customize the look and feel of the widgets according to your requirements then you can set the primary color here. Color code is required as input i.e #ffffff
- Secondary Color: If you want to customize the look and feel of the widgets according to your requirements then you can set the secondary color here. Color code is required as input, i.e #ffffff. All widgets are made in a dual color scheme, one is the primary color, and another one is the secondary color. Both colors you can set in these two fields.
Currency Settings:
In this section, the following actions could be taken.
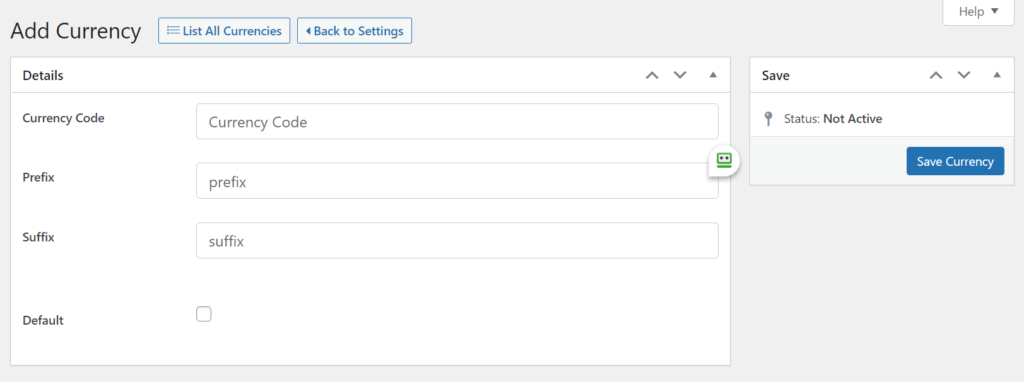
- Add New Currency:
The following information is required while adding new currency:
Currency Code: Code of the currency that you want to add, e.g, PKR, USD, GBP, etc…
Prefix: Prefix of currency that you want to add, i.e., Rs, $, etc…
Suffix: Suffix of currency that you want to add, i.e., PKR, USD, etc…
Default: it is the flag to set the current currency that you are adding; either it should be the default or not.
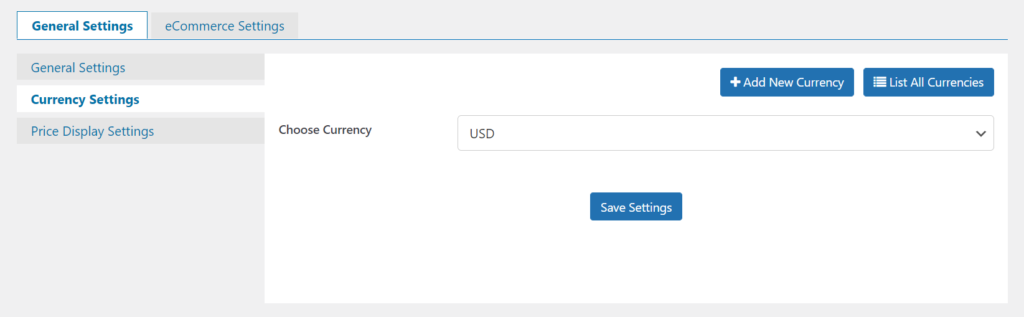
- List All Currencies: This section will list all your added currencies. All currencies here would appear on the add-service section to get the relevant prices.

- Choose Currency: Option to select the currency in which you want to show your widget pricing to your clients, i.e., if you choose USD price, then all USD prices would shoe on the client-side.
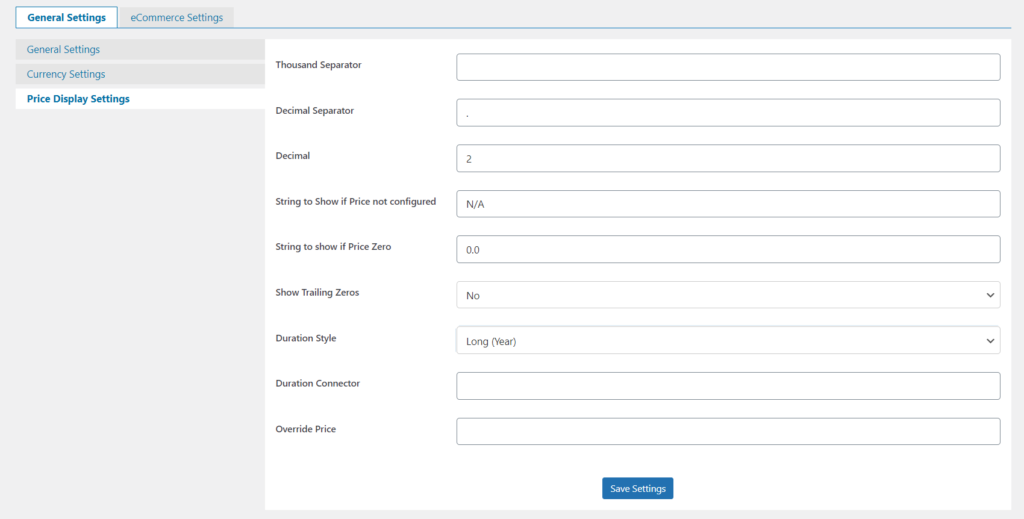
- Thousand Separator: The separator you want to set as a thousand separators at a price, for example,
- Decimal Separator: The separator by which you want to separate price from decimals, such as 123.56 here 123 is the price and 56 are the decimals.
- Decimals: The number of decimals you want to show with the price; if there are no decimals in the price, then 0\’s would be attached as decimals with the price.
- String to show if price not configured: If the price is not set for the service in the relevant currency, then what string should show on the widget in the replacement of the price. “N/A” is the default value.
- String to show if the price is Zero: If prices are zero for a specific service then what you want to show in replacement of price, i.e. show “Free” instead of 0.0
- Show Trailing Zeros: If there are no decimals, then 0’s would be attached with prices if you have set the number of decimals greater than 0 in the settings. Now, if you want to show or hide those trailing zeros, then you can use this option.
- Duration Style: The style of the duration that you want to show with a price. Available options are:
- Long (Year)
- Short (Yr)
- Convert to Months
- Duration Connector: The connector by which you want to connect price with the duration, default value is “”.
- Override Price: if you want to override duration in the price, with some other text, then you can use this option.