You can add the widget and list down all widgets on this page. On the add widget page, you can have the following sections.
 Carousel
 Section
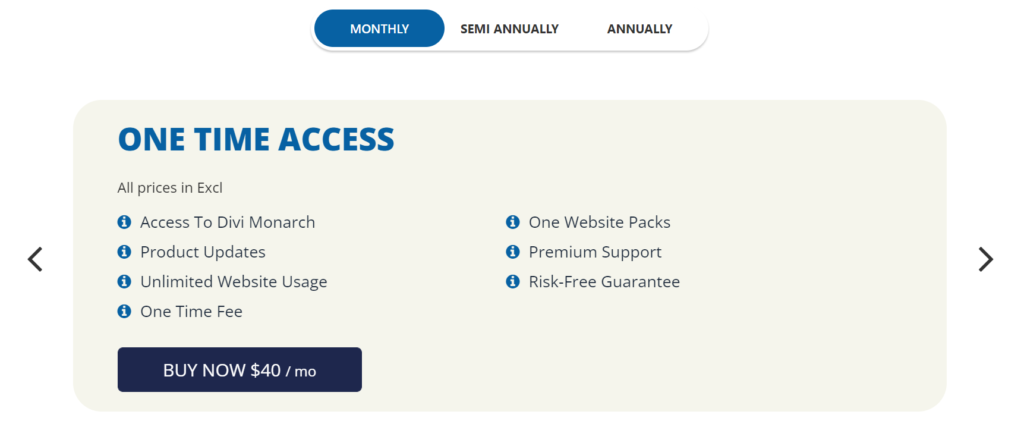
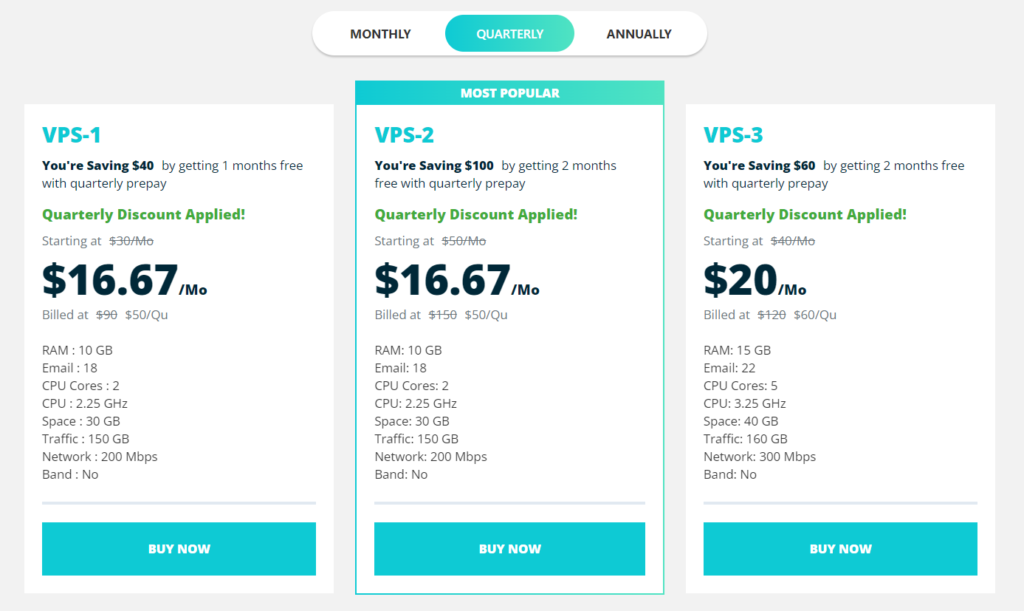
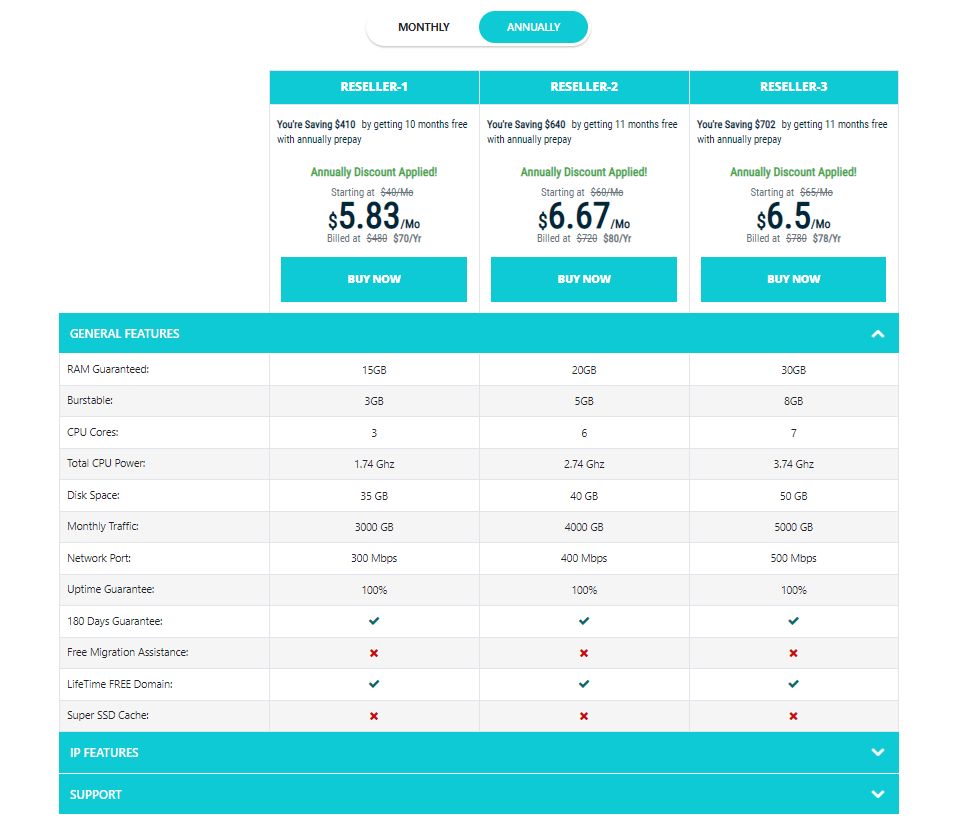
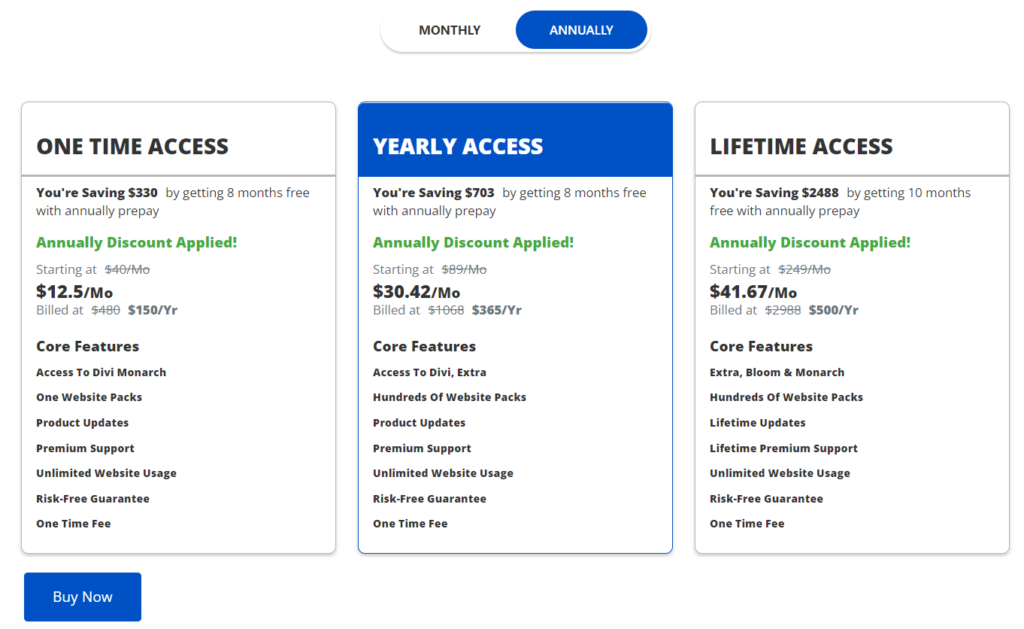 Pricing Table
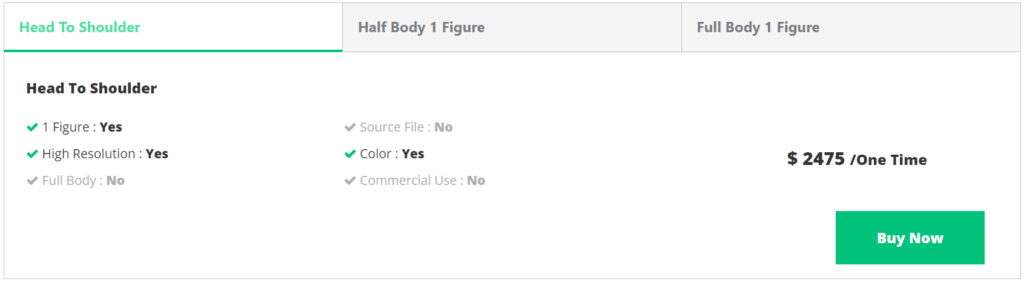
 Comparison Table
 Pricing Slider
 Single Product Widgets
Only one widget is available in the single product widget category.
Jumbotron
Single Product Widgets
Only one widget is available in the single product widget category.
Jumbotron

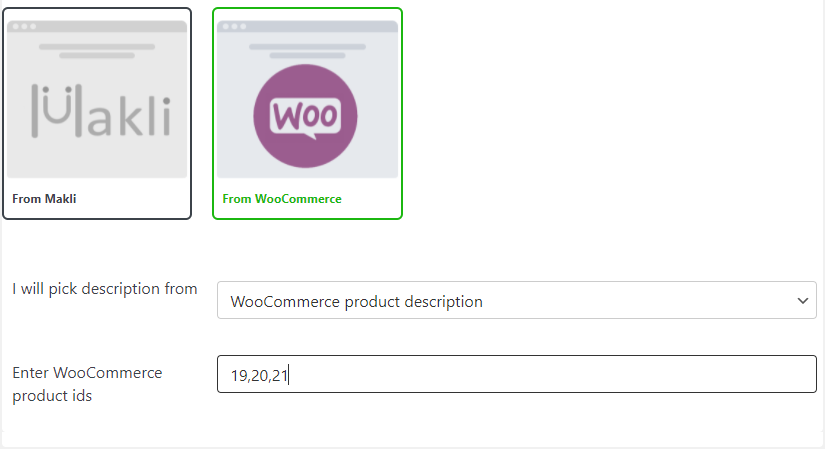
 In the case of WooCommerce, you need to insert product ids that you have created in the WooCommerce product section.
Widget Selection:
In this section, there is an option to select a single product widget or a multi-product widget. Widgets included in the single and multiple products are given below. Multiple Products Widgets There are different widgets available in multiple product categories. Tabs
Carousel
Section
Pricing Table
Comparison Table
Pricing Slider
Single Product Widgets
Only one widget is available in the single product widget category.
Jumbotron
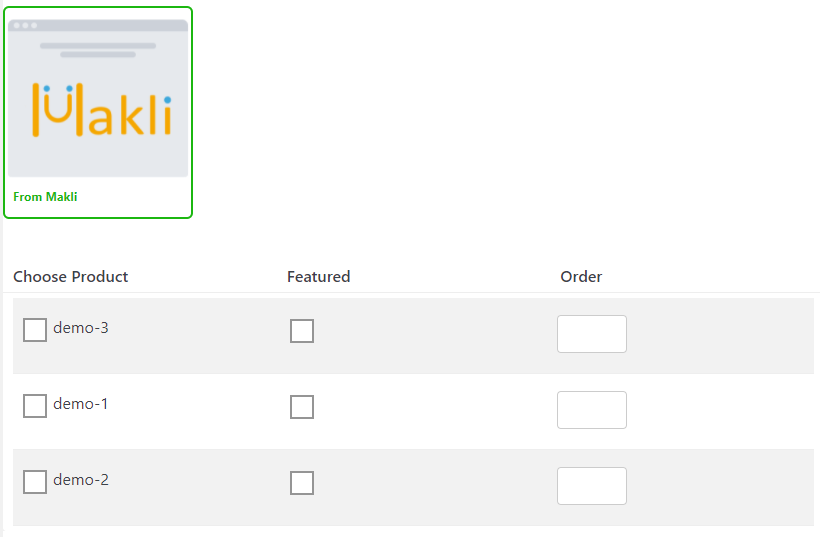
Product Selection:
In this section, clients can have a choice to pick products from Makli or WooCommerce depending upon the working mode that is selected. In the case of Makli, all products would be listed down that you have added in the services section, you just need to select products that you want to add in the widget.
In the case of WooCommerce, you need to insert product ids that you have created in the WooCommerce product section.
Setting More Options (optional):
In this section, you can set more options to set the widget according to your requirements. Options with their descriptions are listed below:- Show Discount: show discounts when client switch between primary and secondary billing cycle.
- Billing Cycle: Selected billing cycles would show on the widget with their respective prices. Billing cycle range would be from monthly to tri-annually. You can override billingcycle string according to your requirements also.
- Description Separator: The separator by which keys and values could be separated, if you want to set different description separator in product description in service section then set your desired description separator here also.
- Convert Yes/NO values to icons: Replace YES/NO with these fontawsome classes. For example if you want to show check for YES, use fa-check, and cross for No, then use fa-close.
- Highlight text for featured plan: if you want to set a plan as featured the you can set featured text here for that plan, for example Most Important etc..
- Enable Tooltips: if you want to describe some terms that you have set in the widget then you can add tooltip from tooltip section and enable them from here..
- Button Text: if you want to override button text in the widget then use this option.